ShotPulled › Help › Set up your machine, grinder and first bag
Set up your machine, grinder and first bag
This works on iPhone, Android and the web, with the same steps on all three. Where a button reads differently, this page says so.
The four steps
Until you can log a shot, the Cockpit shows Before your first shot in place of its usual cards. It has four rows: Your machine, Your grinder, Confirm the grind and Your coffee. Do them in any order. The first machine, grinder and coffee you register become the ones in use.
On iPhone and Android the buttons read Add, Add, Set and Register. On the web they read Add a machine, Add a grinder, Set the position and Register a bag. On iPhone and the web each button opens its form. On Android it opens the Equipment or Beans tab: there, tap Add beside Machines or Grinders, or the + at the top of Beans.
Your machine
Type the model into the name field. A machine the catalog knows offers to fill in its own specs. On iPhone it asks Is this your …? with Fill in specs and Not mine. On the web it asks Is this …? with Prefill specs and No. On Android, type into Search the catalog and tap the match. Save with Register on iPhone, Save on Android or Register machine on the web.
If the machine has a grinder built in, a catalog match registers that grinder in the same save, collar included. On iPhone and the web you can also do it by hand: turn on This machine has a built-in grinder.
The engine reads espresso only. A machine set up for anything else keeps its shots as a record, with no reading.
Your grinder
Pick it from the catalog the same way, and advice comes back in your collar’s own marks: clicks, numbers, or rings like 1.2.2. By hand, you say how the collar is marked, which way is finer and how big one step is. On Android, tap Not in the catalog to fill it in yourself.
On iPhone and the web the grinder form also asks Set to, right now. Type where the collar is set, and the next step is done too.
Confirm the grind
The engine reads a shot only against a grind setting it can trust, so tell it where the collar is now, as you see it on the grinder.
- iPhone: Set opens Set grind. Turn the dial or type the setting in Collar position, leave How do you know? on Measured, and tap Save setting.
- Android: on Equipment, open the grinder and tap Set grind. Enter the Collar setting, keep Measured and tap Save.
- The web: on Equipment, open the grinder and click Set position. Fill in New position label, keep Position source on Measured and click Update collar.
Later, on the phones, the Set grind dial beside the grinder on the Cockpit does the same.
Your coffee
Register a coffee opens on Search the catalog. Type the coffee or the roaster and pick it. The form fills in what the catalog knows (name, roaster, roast level, process, bag size), and you can change any of it. You enter the roast date from your bag, because every freshness reading counts from it.
On the phones, if the catalog lists the coffee for sale, a step opens first. Under Add the bag you have, tap Add as a new coffee.
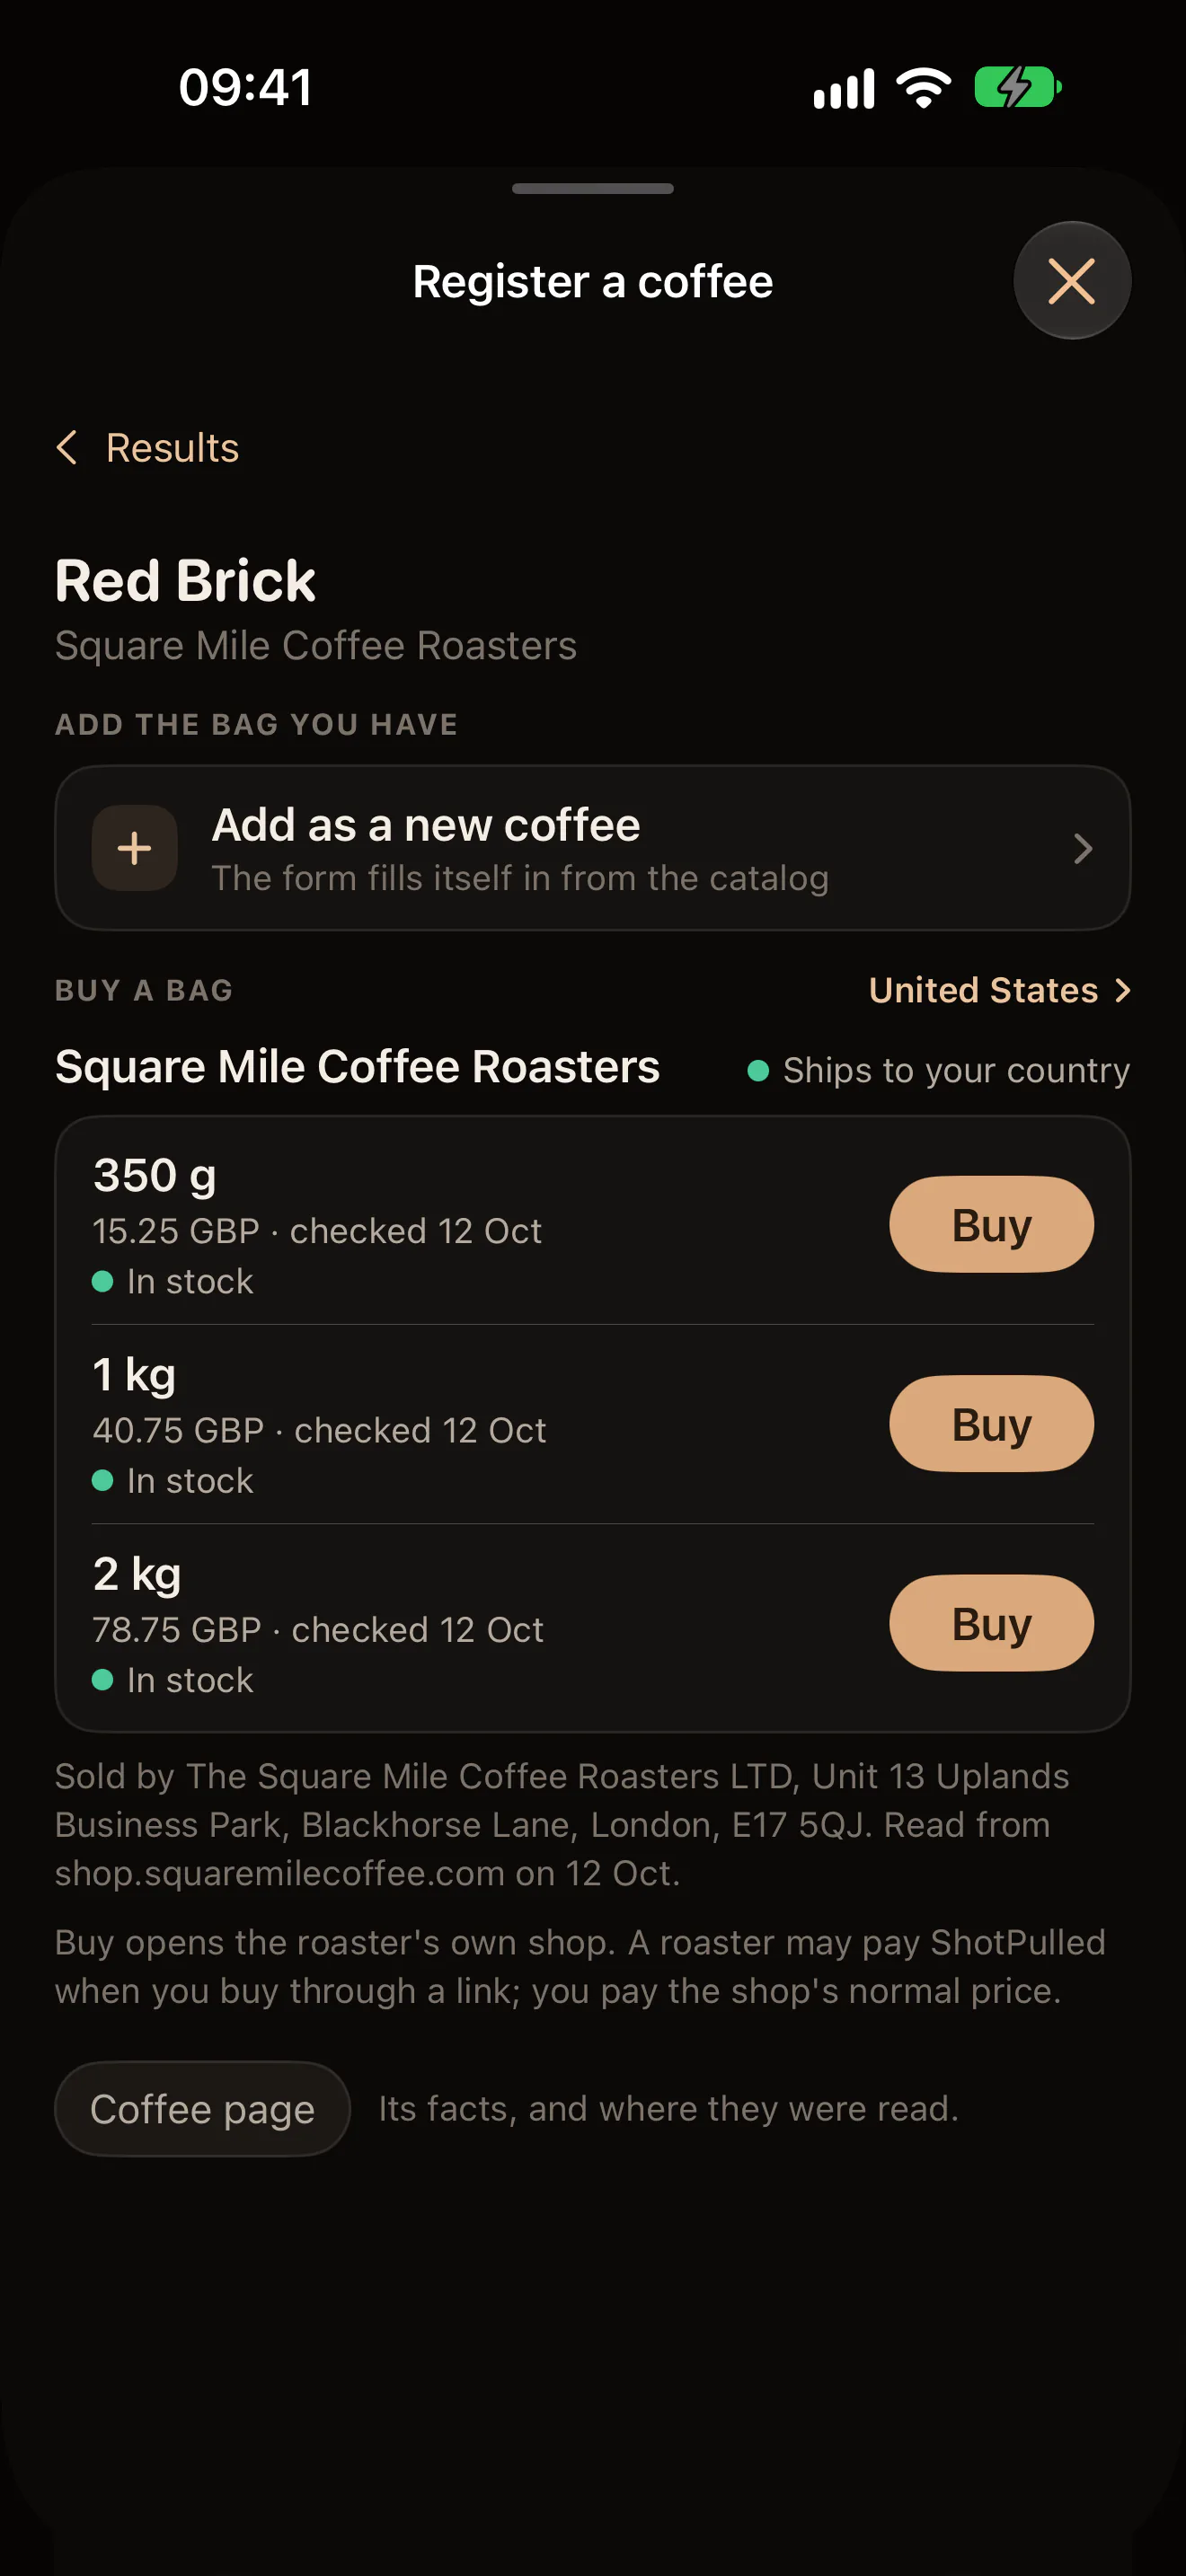
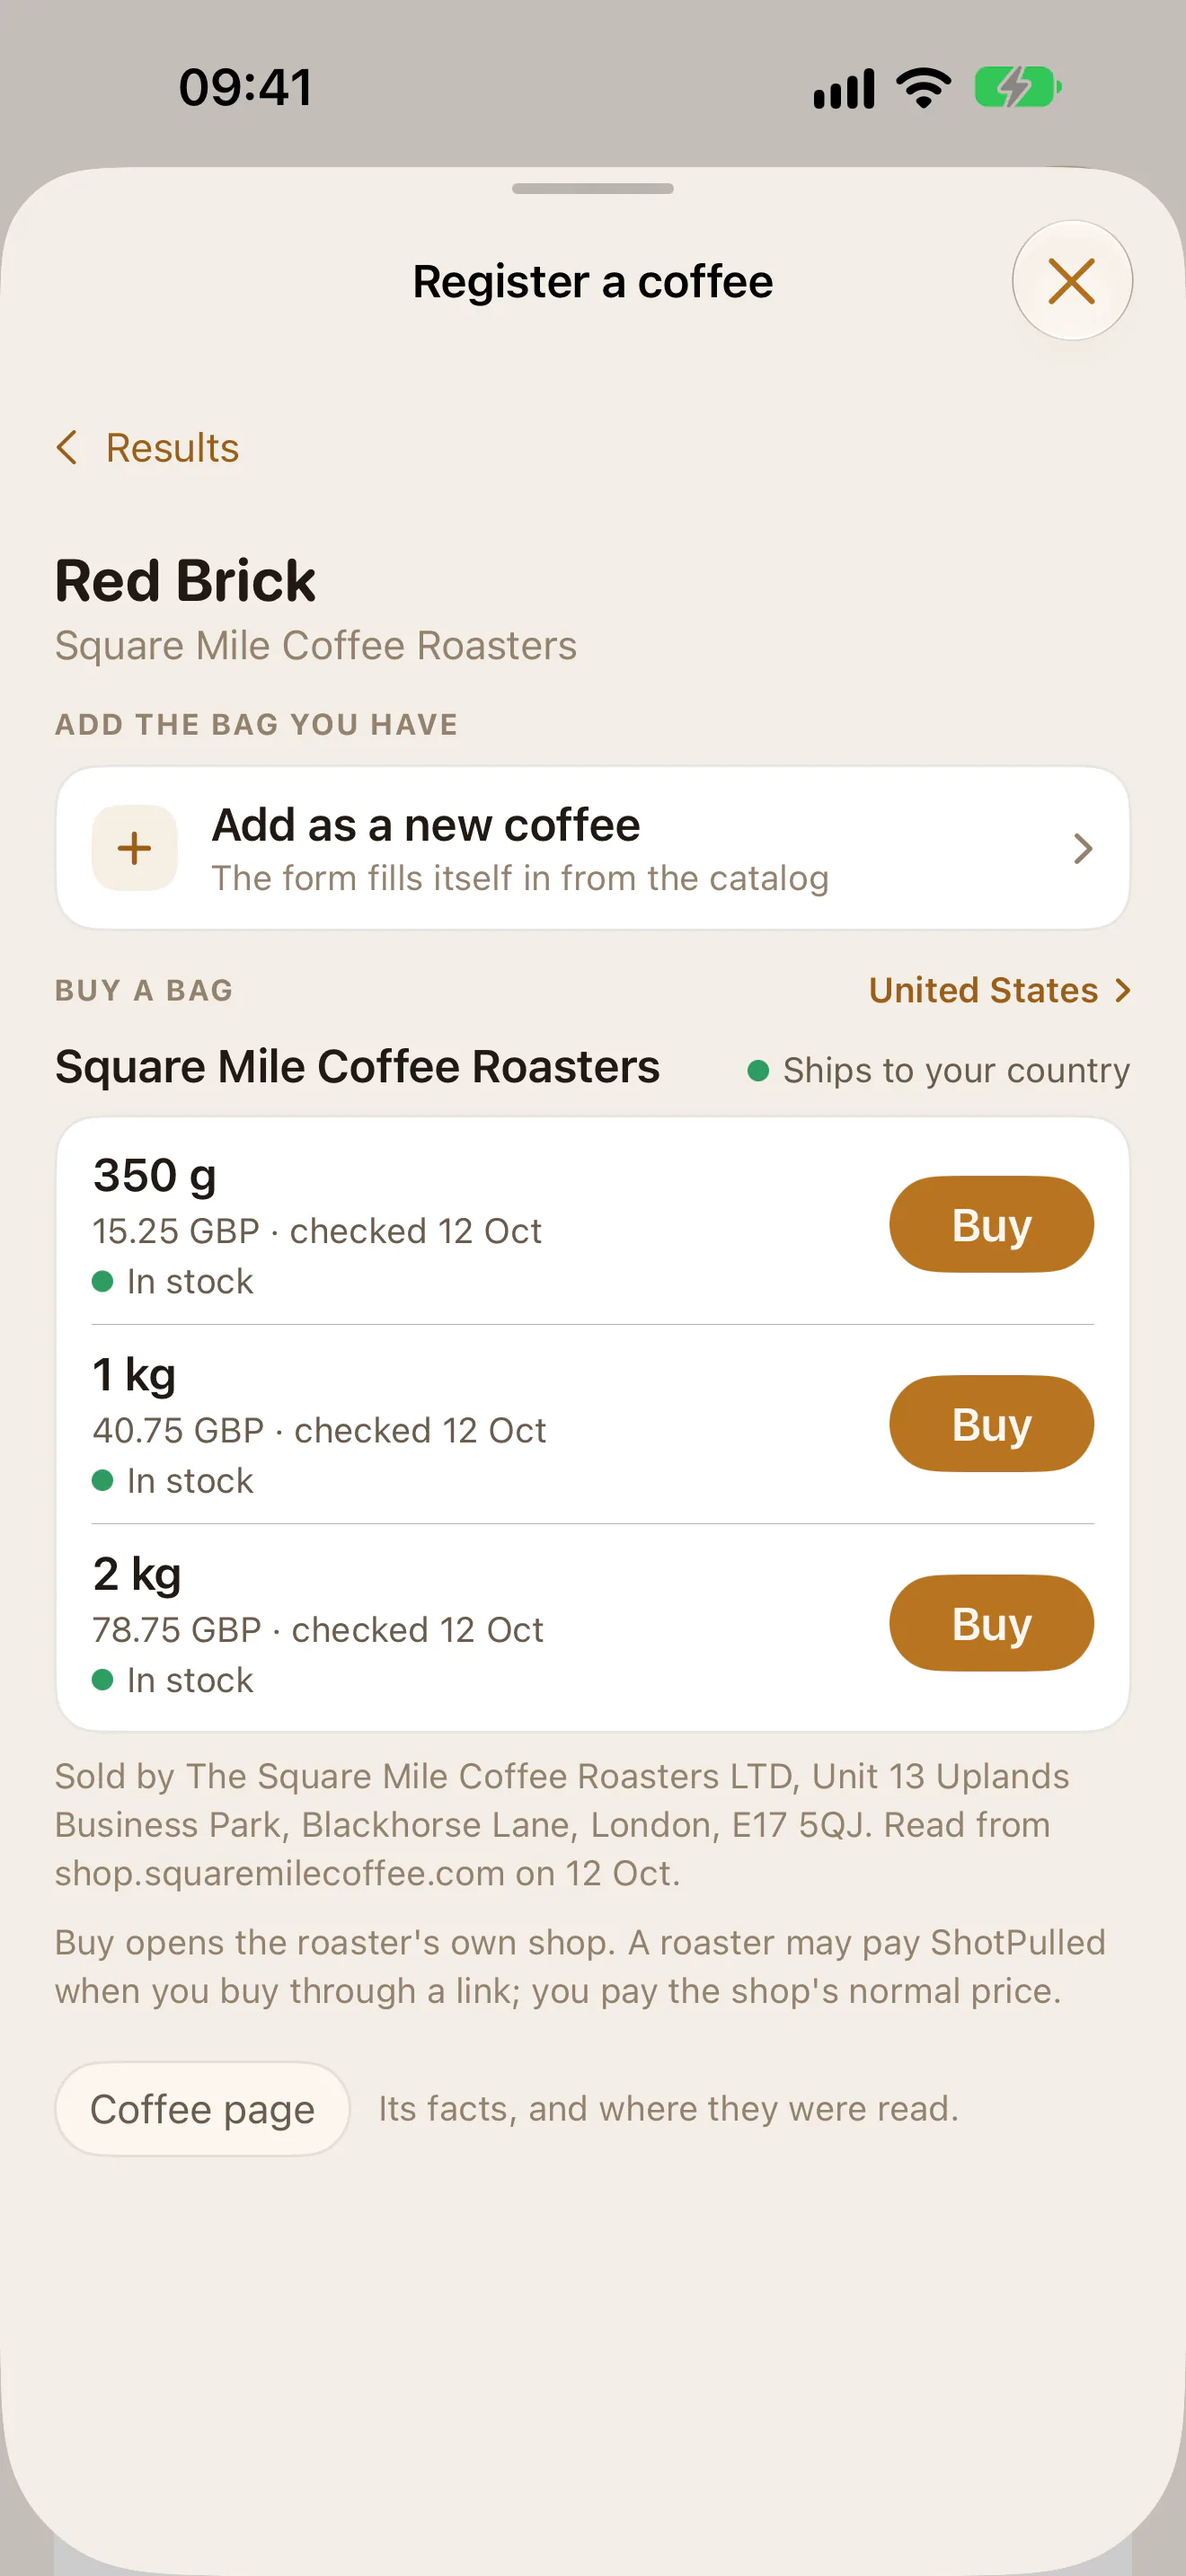
Not in the catalog? Tap Add by hand. You need the name, the roast date, the roast level and the process. Dial category tells the engine how the coffee behaves. Save with Register coffee. The web form has three steps, so click Next twice first.
Catalog or by hand
The catalog saves typing and gets the collar right. Equipment you register by hand works the same once its fields are filled in. What the catalog holds for each model is on the gear pages.
When it is done
The Cockpit says You’re set and offers Pull your first shot. If the grind is not confirmed yet, it also offers Confirm the grind first. You can log shots without it, but they get no reading until it is done. Next: log a shot and taste it.